wor·sted[woos-tid, wur-stid] noun 1. firmly twisted yarn or thread spun from combed, stapled wool fibers of the same length, for weaving, knitting, etc. Compare woolen. 2. wool cloth woven from such yarns, having a hard, smooth surface and no nap.

Friday, October 28, 2011

First Freebie Friday!!

Welcome to Freebie Friday! We are going to do a special post every Friday where we spotlight another website/blog or post our own free pattern. I’m excited I get to do the first one! : )

The first website we want to spotlight is A Chick w/ Sticks. Chelsea is an awesome lady who is selling her hats to help with a charitable cause. Here is her link http://www.achickwsticks.com/search/label/Pattern.

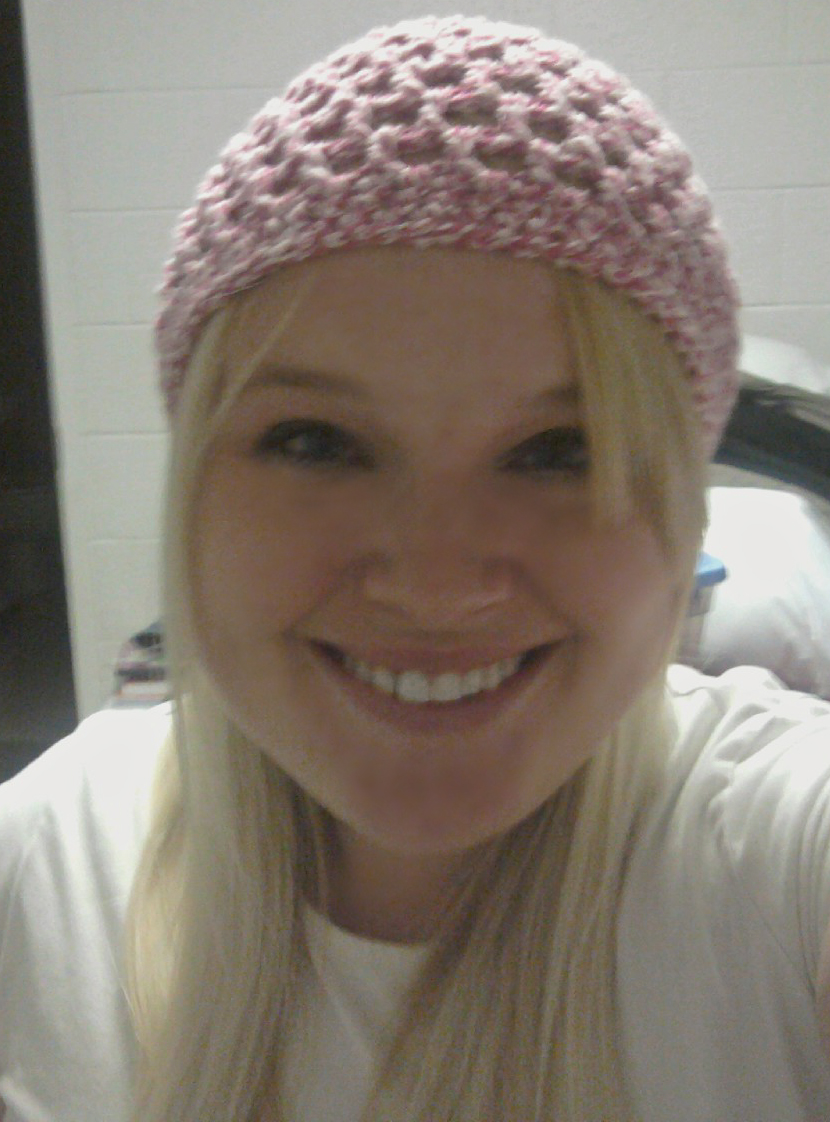
She has some super cute Halloween patterns that she has put on her blog for free. They are so cute!! I wish I had time to make them all before Halloween but I didn’t get to them. I did make the Mr. Bones and The Web hats. They were so easy to do! I think it had only been like two days since I started crocheting again and I made these hats. I ended up making two of the spiderweb ones. They were so much fun and I love how they have a tight weave to them. I’m from Northern Utah so I’m all about keeping warm. Lol! : ) The only thing that I changed about her hats was I added a scalloped edge to the spiderweb hats. I made them for girls so I wanted to add an extra girly touch to it. They were awesome! I hope to be able to make the Frankenstein pattern. That is such a hoot and I would love it for my son for next Halloween. : )

I made used the Candy Corn pattern to make part of my son's Halloween costume for this year. He's only months old so I get to choose what he is. His big sister is Snow White so he gets to be Dopey. They'll be so cute together. :) Anyway I used the Candy Corn pattern to make a purple Dopey hat. I haven't put the D on it yet (as a hint to who he is : ) ) but I think it turned out way cute!


Make sure you check out all of the other crochet patterns and projects she has. She is very crafty and makes the cutest hats!

I hope you enjoyed our first Freebie Friday and that you come back often. We’d love to have you share any questions, ideas, or websites/blogs you think we should spotlight next. Have a great Friday and we hope you have a Happy Halloween!

~Heidi

Here's her button:

Pin It

Thursday, October 27, 2011

How to Crochet Spirals

One of the plans Heidi and I have for this blog is to share a few tips and tricks of the trade.  Even though we ourselves are still pretty new at this, we are super excited to share what we have learned.

A super fun technique, that is one of my favorites, it the Spiral or Curly-Que.  I use it for the tops of my pumpkin hats:

My strawberry design sports a couple:
And I even use them to "Funk-ti-fy" some of my school spirit hats as tassels:
Here's how you do it:

Step #1:  You can use any size of hook.  The bigger the hook, the thicker the spiral and visa versa.  With your chosen hook make a chain the length you want your spiral to be.

Step #2:  Now, you will turn and in the second chain from the hook make two single crochets.

Step #3:  Do 2 sc in every chain all the way down.  Is it curling?  It should!

There you go!  Now don't be afraid of playing with it!  Go over it again with a different color and make some edging if you want like my school spirit hat above.  Or maybe try it with a larger stitch.  It's all up to you!  Now go have fun!!

Comment Fun:  All you crocheters out there, what is the cutest or funnest way you have used the spiral technique?  Leave a comment and/ or a link with some pictures!

Pin It

Viking Hat

This is not one of my original designs, so I do not have it posted on Etsy.  However, if anyone is interested in purchasing one, feel free to email me and we can work something out! (The original designer can be found here).

This hat is made from 100% Acrylic Yarn (Vanna's Choice, and super soft and comfy!)


Baby and Child sizes:  $26
Adult Sizes: $30

The Adult version has longer horns:

If you are interested in buying this hat from me, Cat, please email me @ nutsinanutshell(at)gmail(dot)com and we can set something up through PayPal.
Pin It

Tuesday, October 25, 2011

Cat's Basic Hat Pattern

In honor of starting this blog, I wanted to giveaway one of my basic styles.  There is one basic hat pattern I like to use for woman's and girls hats.  It's pretty easy and it's one of my first patterns I pieced together with basic stitches.  Here are some of the hats I have made with this basic design:

 This pattern does NOT include the fancy edging that I used above though OR the flowers... those patterns I will share at a later time when I have time to write them down.  Most of my work is in my head.  I made this thinking I wanted something fast, cute and not too hot!  Hat's in general tend to make my head sweat and I wanted something with a little ventilation, if you know what I mean!

(And on a side note, I would like to thank that random person who wrote that ancient book I dusted off at the library who taught me the beauty of the chain and V stitches.)


Cat’s Basic Hat
Pattern by Catherine Lang

Materials:
·         Yarn.  Color of your choice.  Medium/ Worsted weight
·         Crochet Hook size H and I

Gauge:
After round one, the diameter of the circle should be 2in (5cm).

Special Stiches:
V-Stitch – (double crochet, chain 1, double crochet) in same stitch.

Body:
With size I crochet hook ch 5, ss in first chain to form a ring.

Rnd 1: ch 4 (counts as 1st dc and ch 1 throughout pattern) *dc in ring, ch 1.  Repeat from * 10 more times.  Ss in 3rd ch of ch 4 at the beginning to join.  (12 dc)
Rnd2: ss in 1st ch 1 space.  Ch 4, dc in same space as ss. *ch 1, v-stitch (dc, ch 1, dc in same space) in next ch 1 sp. Repeat from * all the way around and end with a ch 1. Ss in 3rd ch of ch 4 at the beginning to join.  (24 dc)
Rnd 3: ss in 1st ch 1 space. Ch 4. *dc in next ch 1 space, ch 1.  Repeat from * all the way around. Ss in 3rd ch of ch 4 at the beginning to join. (24 dc)
Rnd 4:  ss in 1st ch 1 space. Ch 4. Dc in same ch 1 sp. *(ch 1, dc in next ch 1 sp.) 3 times, ch 1, v-stitch in next ch 1 sp.  Repeat from * around ending with ch 1, ss in 3rd ch of ch 4 at the beginning to join rnd.  (30 dc)

Girl’s Hat:

Rnd 5-9: repeat round 3.
Rnd 10-12: Ch 1. With size H hook, sc in each dc and ch 1 space around.  Ss in ch 1 to join.  After rnd 12 fasten off.


Woman’s Hat:

Rnd 5-11: repeat round 3.
Rnd 11-13: Ch 1. With size H hook, sc in each dc and ch 1 space around.  Ss in ch 1 to join.  After rnd 13 fasten off.

Note:  If you would like it a little longer to cover your ears better, repeat rnd 3 a few more times before you move on to other rnds.

It looks a little stretched out because I tried it on and I have a super big head!
Disclaimer:  This hat came from putting together some basic stitches, if someone has posted another pattern similar to this one, it is purely coincidence.
Here I am wearing the hat... although I am thinking it needs a flower...


Pin It
Related Posts Plugin for WordPress, Blogger...